APPLE POP-TARTS

HOMEMADE POP-TARTS they are so beyond next level delicious.
These will absolutely ruin store-bought pop-tarts for you. If you don’t want that, really, don’t make these. That said, it is absolutely worth it if you’re thinking “do I really need to make pop-tarts from scratch, is it worth the energy?”. You will see and taste the difference here. These are special. Make them to have a fun element at a brunch you’re hosting. Bring them as a gift. There’s such a great nostalgic element to them with a truly wow-worthy taste. I love these!
Click here to see my behind-the-scenes video of me making these Apple Pop-Tarts!

APPLE POP-TARTS
Ingredients
Instructions
- In your stand mixer fitted with your hook attachment, cream together your butter and sugar.
- Add your flour, whole wheat flour, nutmeg and cinnamon. Mix until it is evenly incorporated.
- Little by little pour your almond milk in. Mix until you have a dough texture.
- Dust your clean work surface and rolling pin with flour.
- Roll dough into a ball and then place it on your dusted work surface.
- Use your rolling pin to roll your dough until it is an even 1/4 thick.
- Use your pairing knife to cut off the rough edges to make one large rectangle out of your dough (you can save the extra dough to make something else. I made a galette with mine).
- Cut your dough rectangle lengthwise into three even strip pieces.
- Cut your dough strips widthwise every 4 inches to ultimately make roughly 4x6 inch rectangles.
- I did this next part one pop-tart at a time. It allowed me a little space which worked out well.
- Lay a dough rectangle on your silpat lined baking sheet.
- Use your teaspoon to scoop your apple jam into the center of your rectangle leaving about a 1/2 inch border of dough bare around it. It won’t feel like a ton of jam, it’s ok, you’re doing everything right.
- Lay a second layer of dough over it making sure to align the edges (you can always use your pairing knife to cut away any slightly uneven edges).
- Use your fingers to gently press the dough around the jam filling down (this is more of an extra security that helps to keep the jam in place).
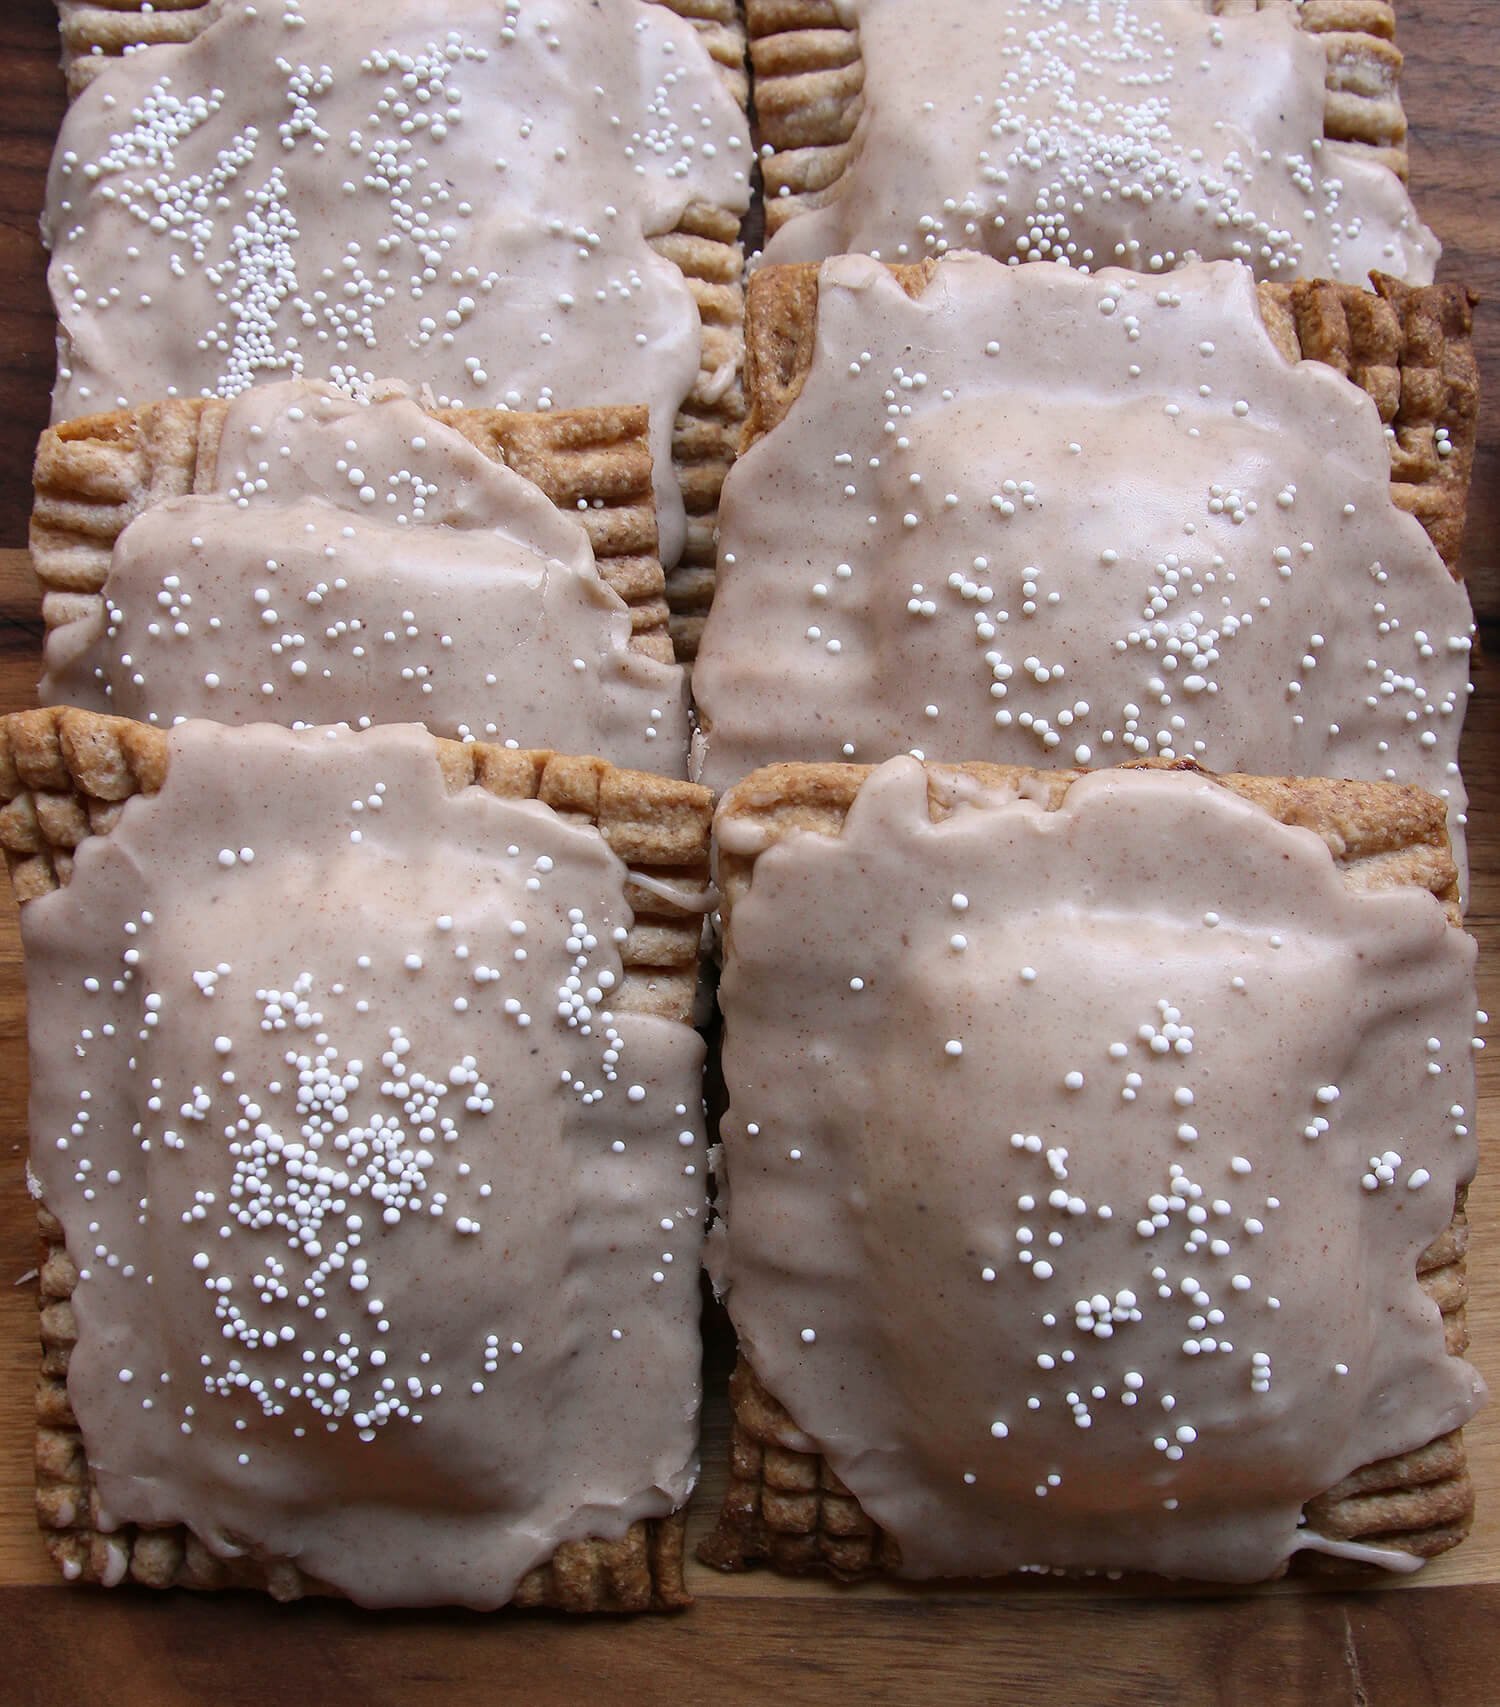
- Press the backside of your fork tines around the edges of your two layers of dough ( just the dough, NOT the filling) to really seal it closed.
- Gently pierce the tip of your tines through the part of the dough that covers the jam (I pricked about 5 times in each pop-tart). Doing this allows the steam from the jam when it cooks to escape your pop-tarts. Otherwise they will likely explode on you.
- Repeat this process until you have made all 8 of your pop-tarts.
- Refrigerate them for 1 hour.
- Preheat your oven to 400º.
- Bake until they are golden and lightly crisp—20 minutes.
- Transfer them to your cooling rack.
- Let them fully cool—roughly 30 minutes at a minimum. I left them out and went to the park with my son, came back and then iced them. You very much don’t need to stand around and wait for these if you have other things to do.
- In your stand mixer fitted with your whisk attachment, whisk together your confectioners sugar, bourbon vanilla extract, cinnamon, nutmeg, and almond milk. Whisk until you have a smooth icing texture—about 2 minutes.
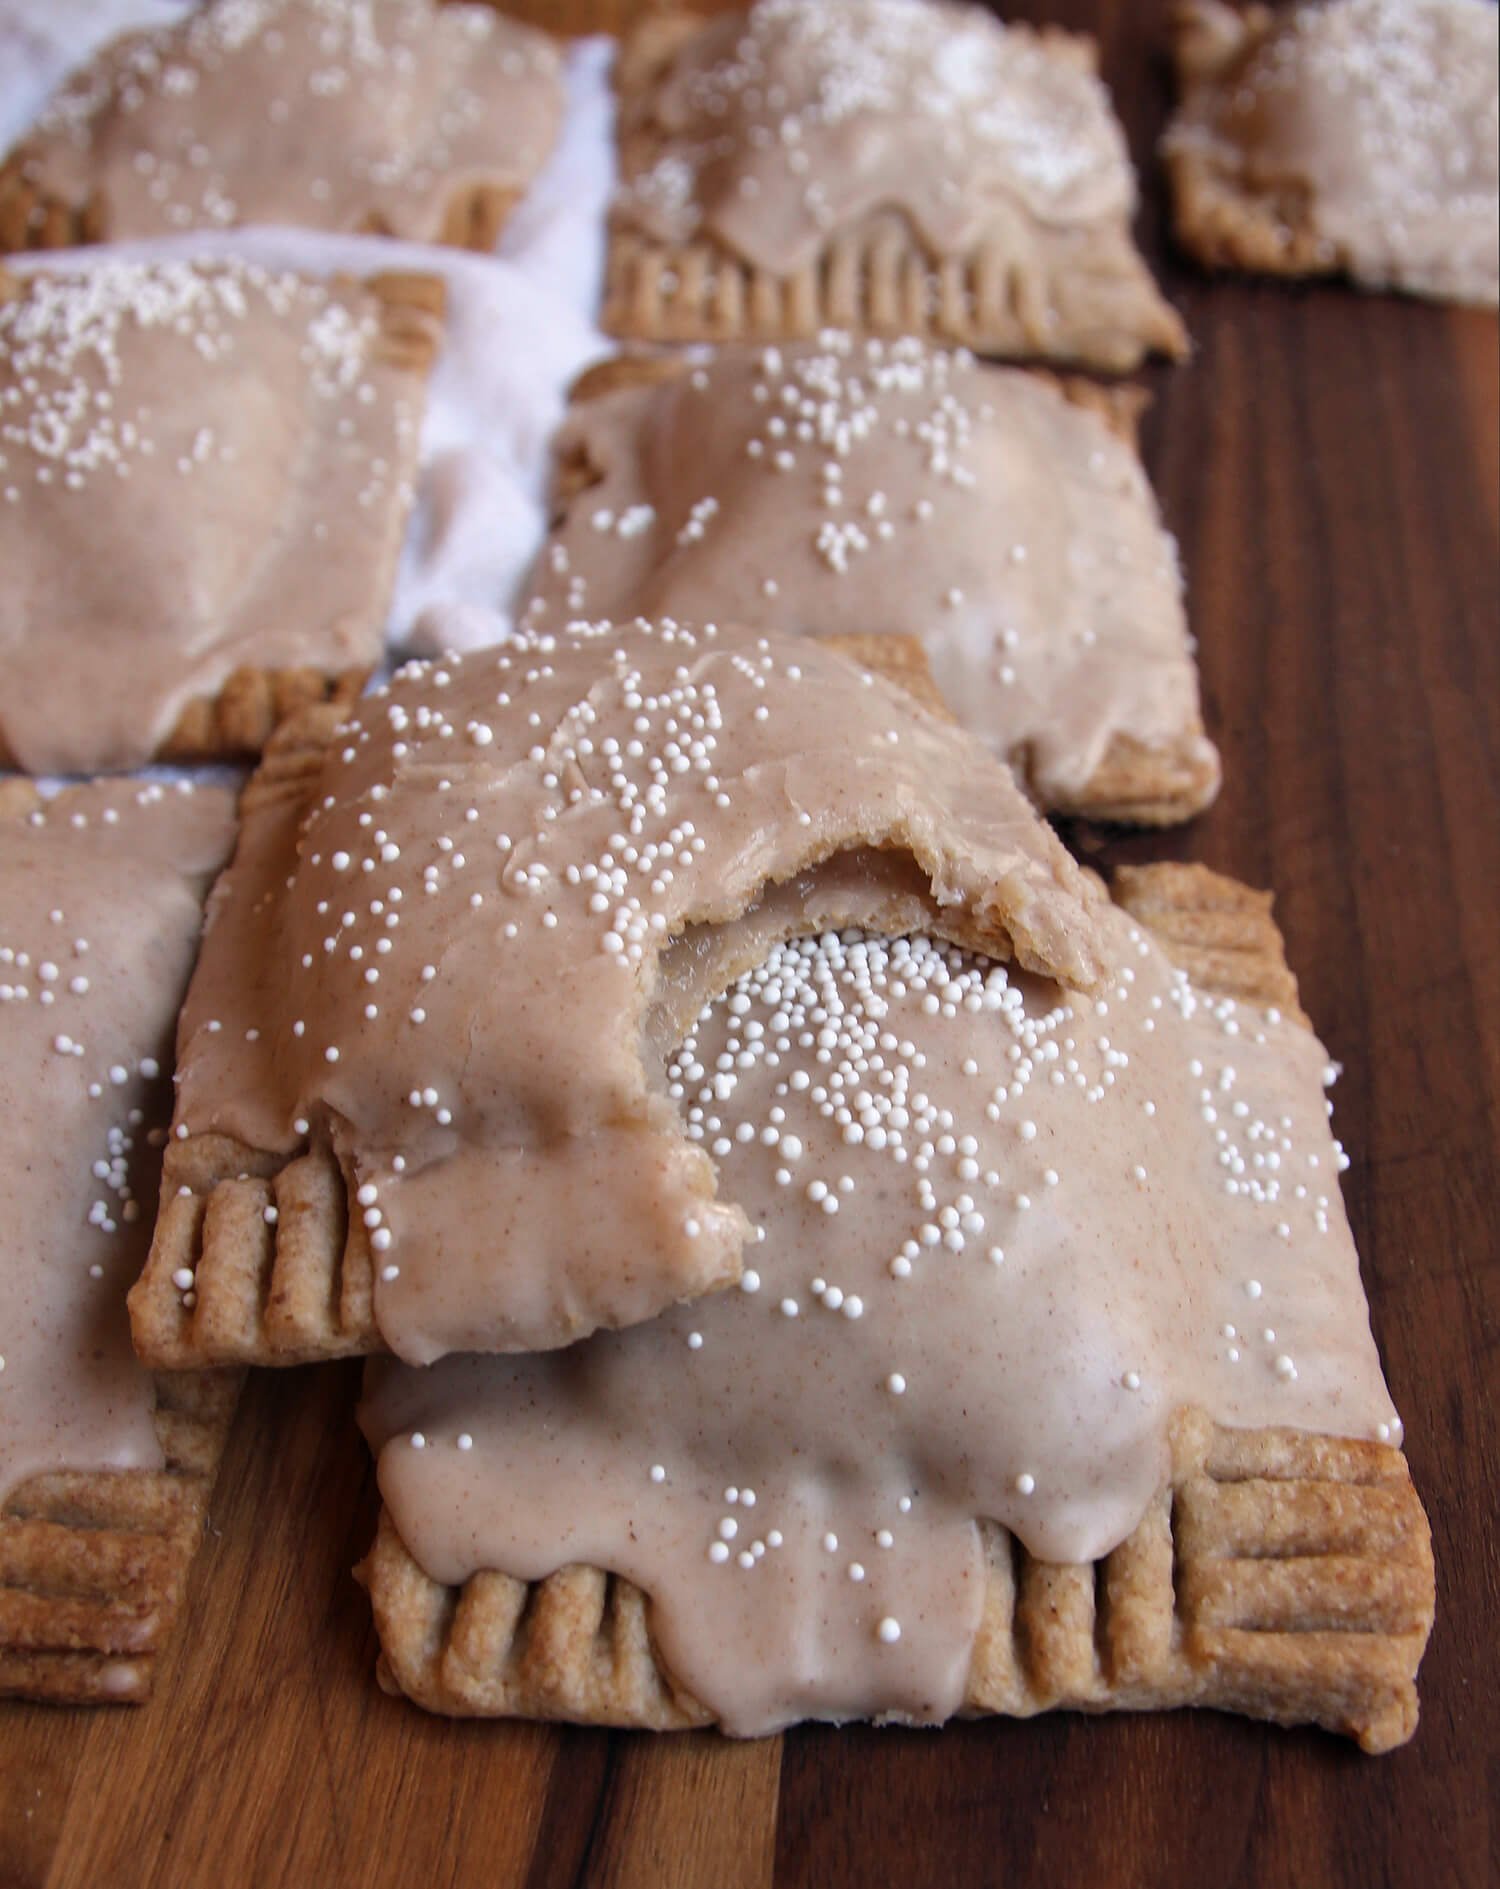
- Ice your pop-tarts. You can do this next part one of two ways. You can pick up your pop-tarts one at a time and dip them face-down in the icing and then place them back on your cooling rack. OR you can use your table spoon to scoop icing onto them. I did a combination of both.
- Use your hands to sprinkle your sprinkles into the icing before it cools.
- Let sit to harden—roughly 10 minutes (no biggie).
- Eat, say “wow”, and enjoy!
Notes
The timing in this recipe doesn't include the time to make my Apple Jam Recipe for the filling. You can absolutely make the apple jam day of or a couple of days ahead of time. If you're in a time crunch, you absolutely can use the homiest feeling store bought apple jam.