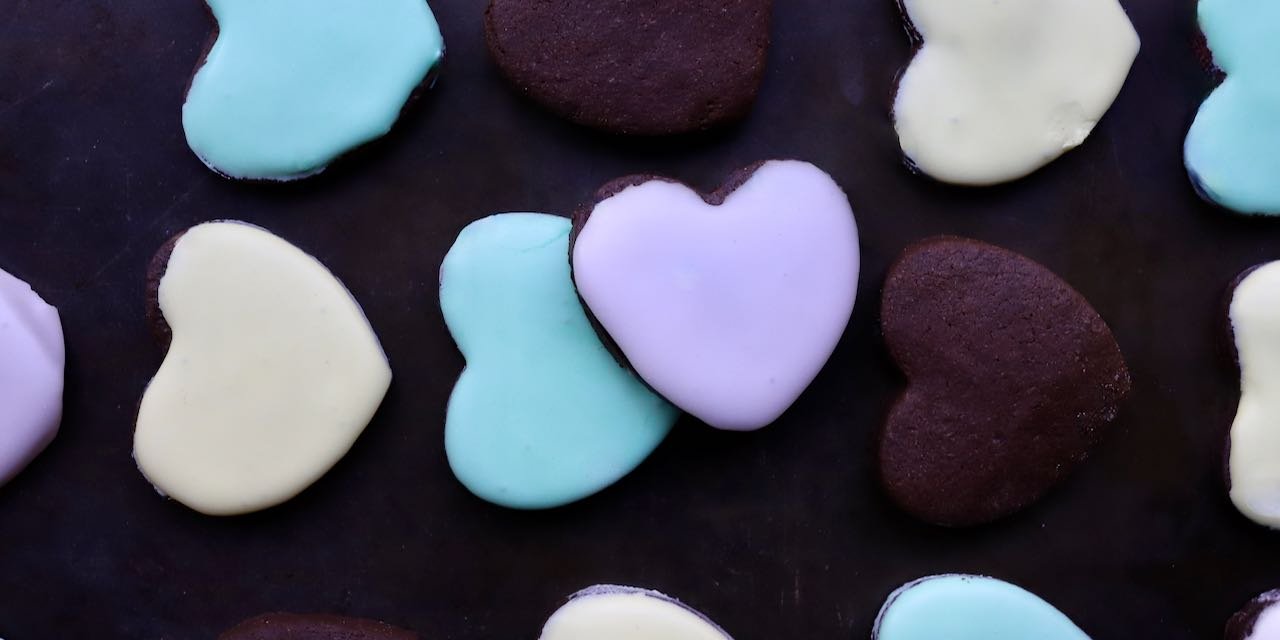
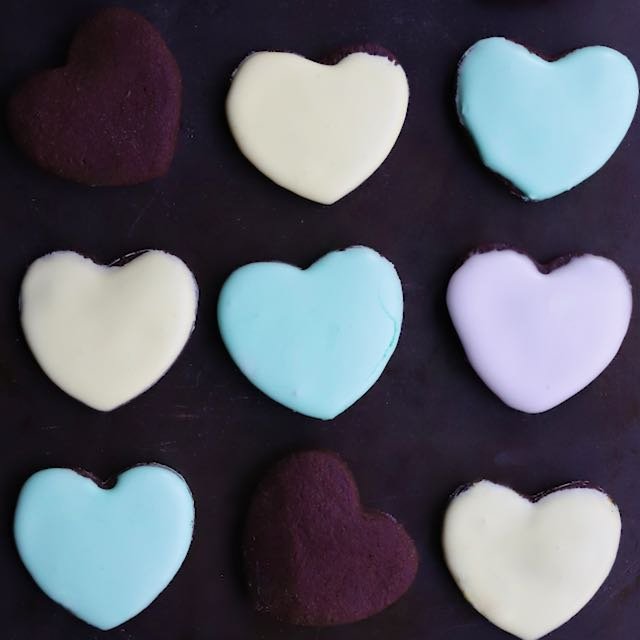
MINI HEART SHAPED CHOCOLATE SUGAR COOKIES
CHOCOLATE COOKIES everyone will love.
Spread the love! Make these playful mini cookies for Valentine’s Day and give them to all of your friends. The recipe is easy, fun, aaaand if you’re a brave human you can make them your own and add some words to them.

Mini Chocolate Heart Sugar Cookies
Yield: 40 Cookies
Prep time: 10 MinCook time: 12 MinInactive time: 1 HourTotal time: 1 H & 22 M
Ingredients
COOKIES
ROYAL ICING
KITCHEN TOOLS
Instructions
TO MAKE YOUR COOKIES
- In your mixing bowl, whisk together flour, cocoa powder, baking powder, and salt. Set aside.
- In your stand mixer outfitted with your paddle attachment on medium speed, cream your butter until it's smooth and light. Add your white sugar and cream together until you have an even consistency. Make sure to scrape down the sides of your mixing bowl so that all of your butter and sugar get mixed together.
- Add your egg, vanilla extract, and coffee extract. Continue mixing until you have an even mixture.
- Turn your mixer to low speed and in batches integrate your flour mixture until you have cookie dough.
- Line your cookie sheet with a silpat or parchment paper.
- Lightly dust your work surface with flour and dump your cookie dough onto it. Press it into a ball and then cut it in half.
- Roll one half of your cookie dough on your silpat lined cookie sheet and the other half on your other lined cookie sheet—it should be 1/4 inch thick. You can layer your two halves on one sheet but do note that they will likely stick together when you take them out of your fridge. You will have to gently slide them apart sliding your hand or spatula under the top mat. Two separate trays are more ideal.
- Refrigerate for 1 hour.
- Preheat your oven to 350º.
- Use your heart shaped cookie cutter to cut out as many hearts as you can. Start from the edges and work your way in. Work quickly. You want your dough to be as cold as possible or it will get mushy and lose its form more easily. Remove any scraps. If you want more cookies, roll your scraps into a ball, roll it on a lined cookie sheet and pop it back in the fridge until you're ready to use it.
- Bake for 12 minutes.
- Remove from the oven and let cool for 5 minutes. Then transfer your cookies to a cooling rack.
- DO NOT ICE THEM UNTIL THEY ARE COMPLETELY AND FULLY COOLED.
TO MAKE YOUR ROYAL ICING AND DECORATE YOUR COOKIES
- Before you start, make sure to thoroughly clean out your stand mixer and then swap your paddle attachment for your whisk attachment.
- Pour your egg whites into your stand mixer. Mix on medium speed for roughly 1 minute until your egg whites froth up.
- Lower your speed to medium-low, add your confectioner's sugar in batches until you have an icing texture. Make sure to scrape down the sides of your mixing bowl so that all of your egg whites and sugar get mixed together.
- Add your vanilla extract and mix.
- Divide your icing into your little bowls.
- Dip your toothpick into your green food coloring gel once and mix it into one of your little bowls mix thoroughly and add a little as needed to get the shade of green you like best. Mix in white to make it a pastel. Repeat this again in two more bowls with both your pink and your yellow food coloring gels.
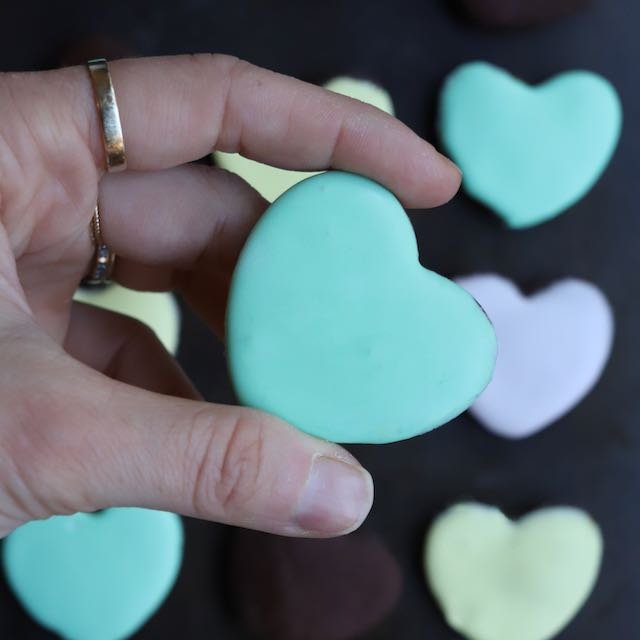
- Use your piping bag with the small tip to pipe the outlines of the shape you want on your cookies.
- Use your piping bag with the larger tip to fill in your shapes.
- Let sit until your icing hardens.
- Eat and enjoy.