

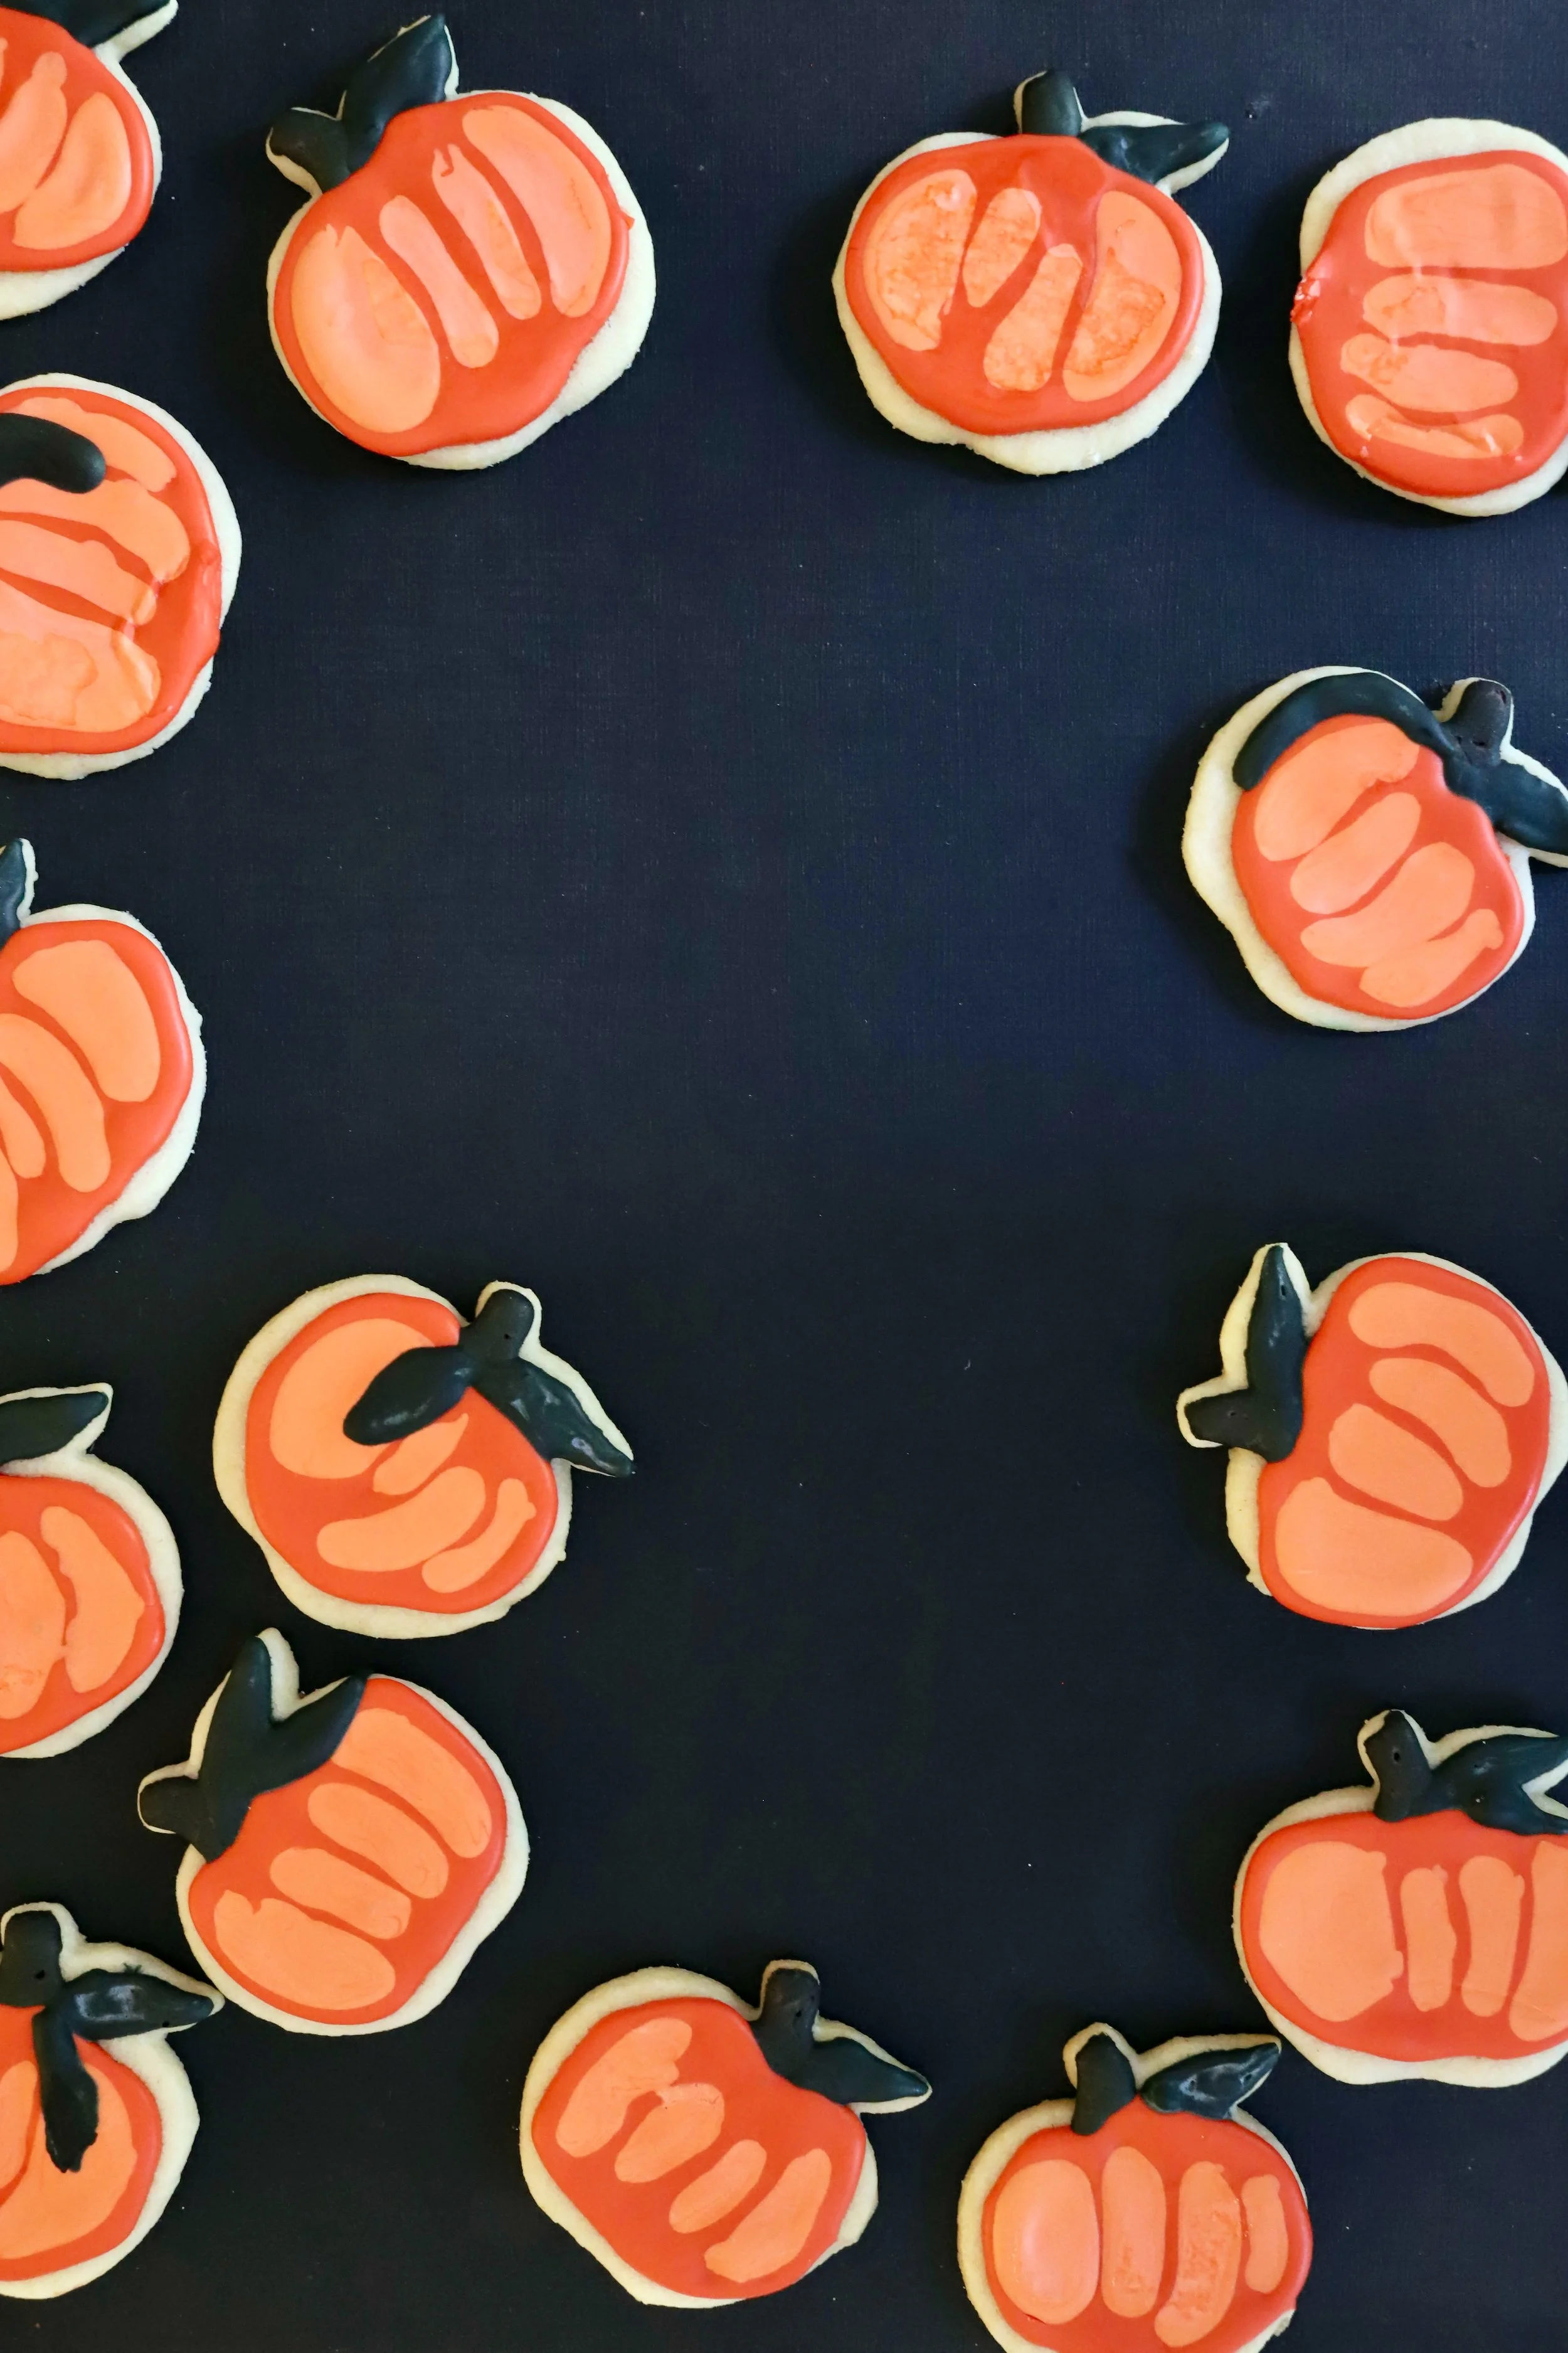
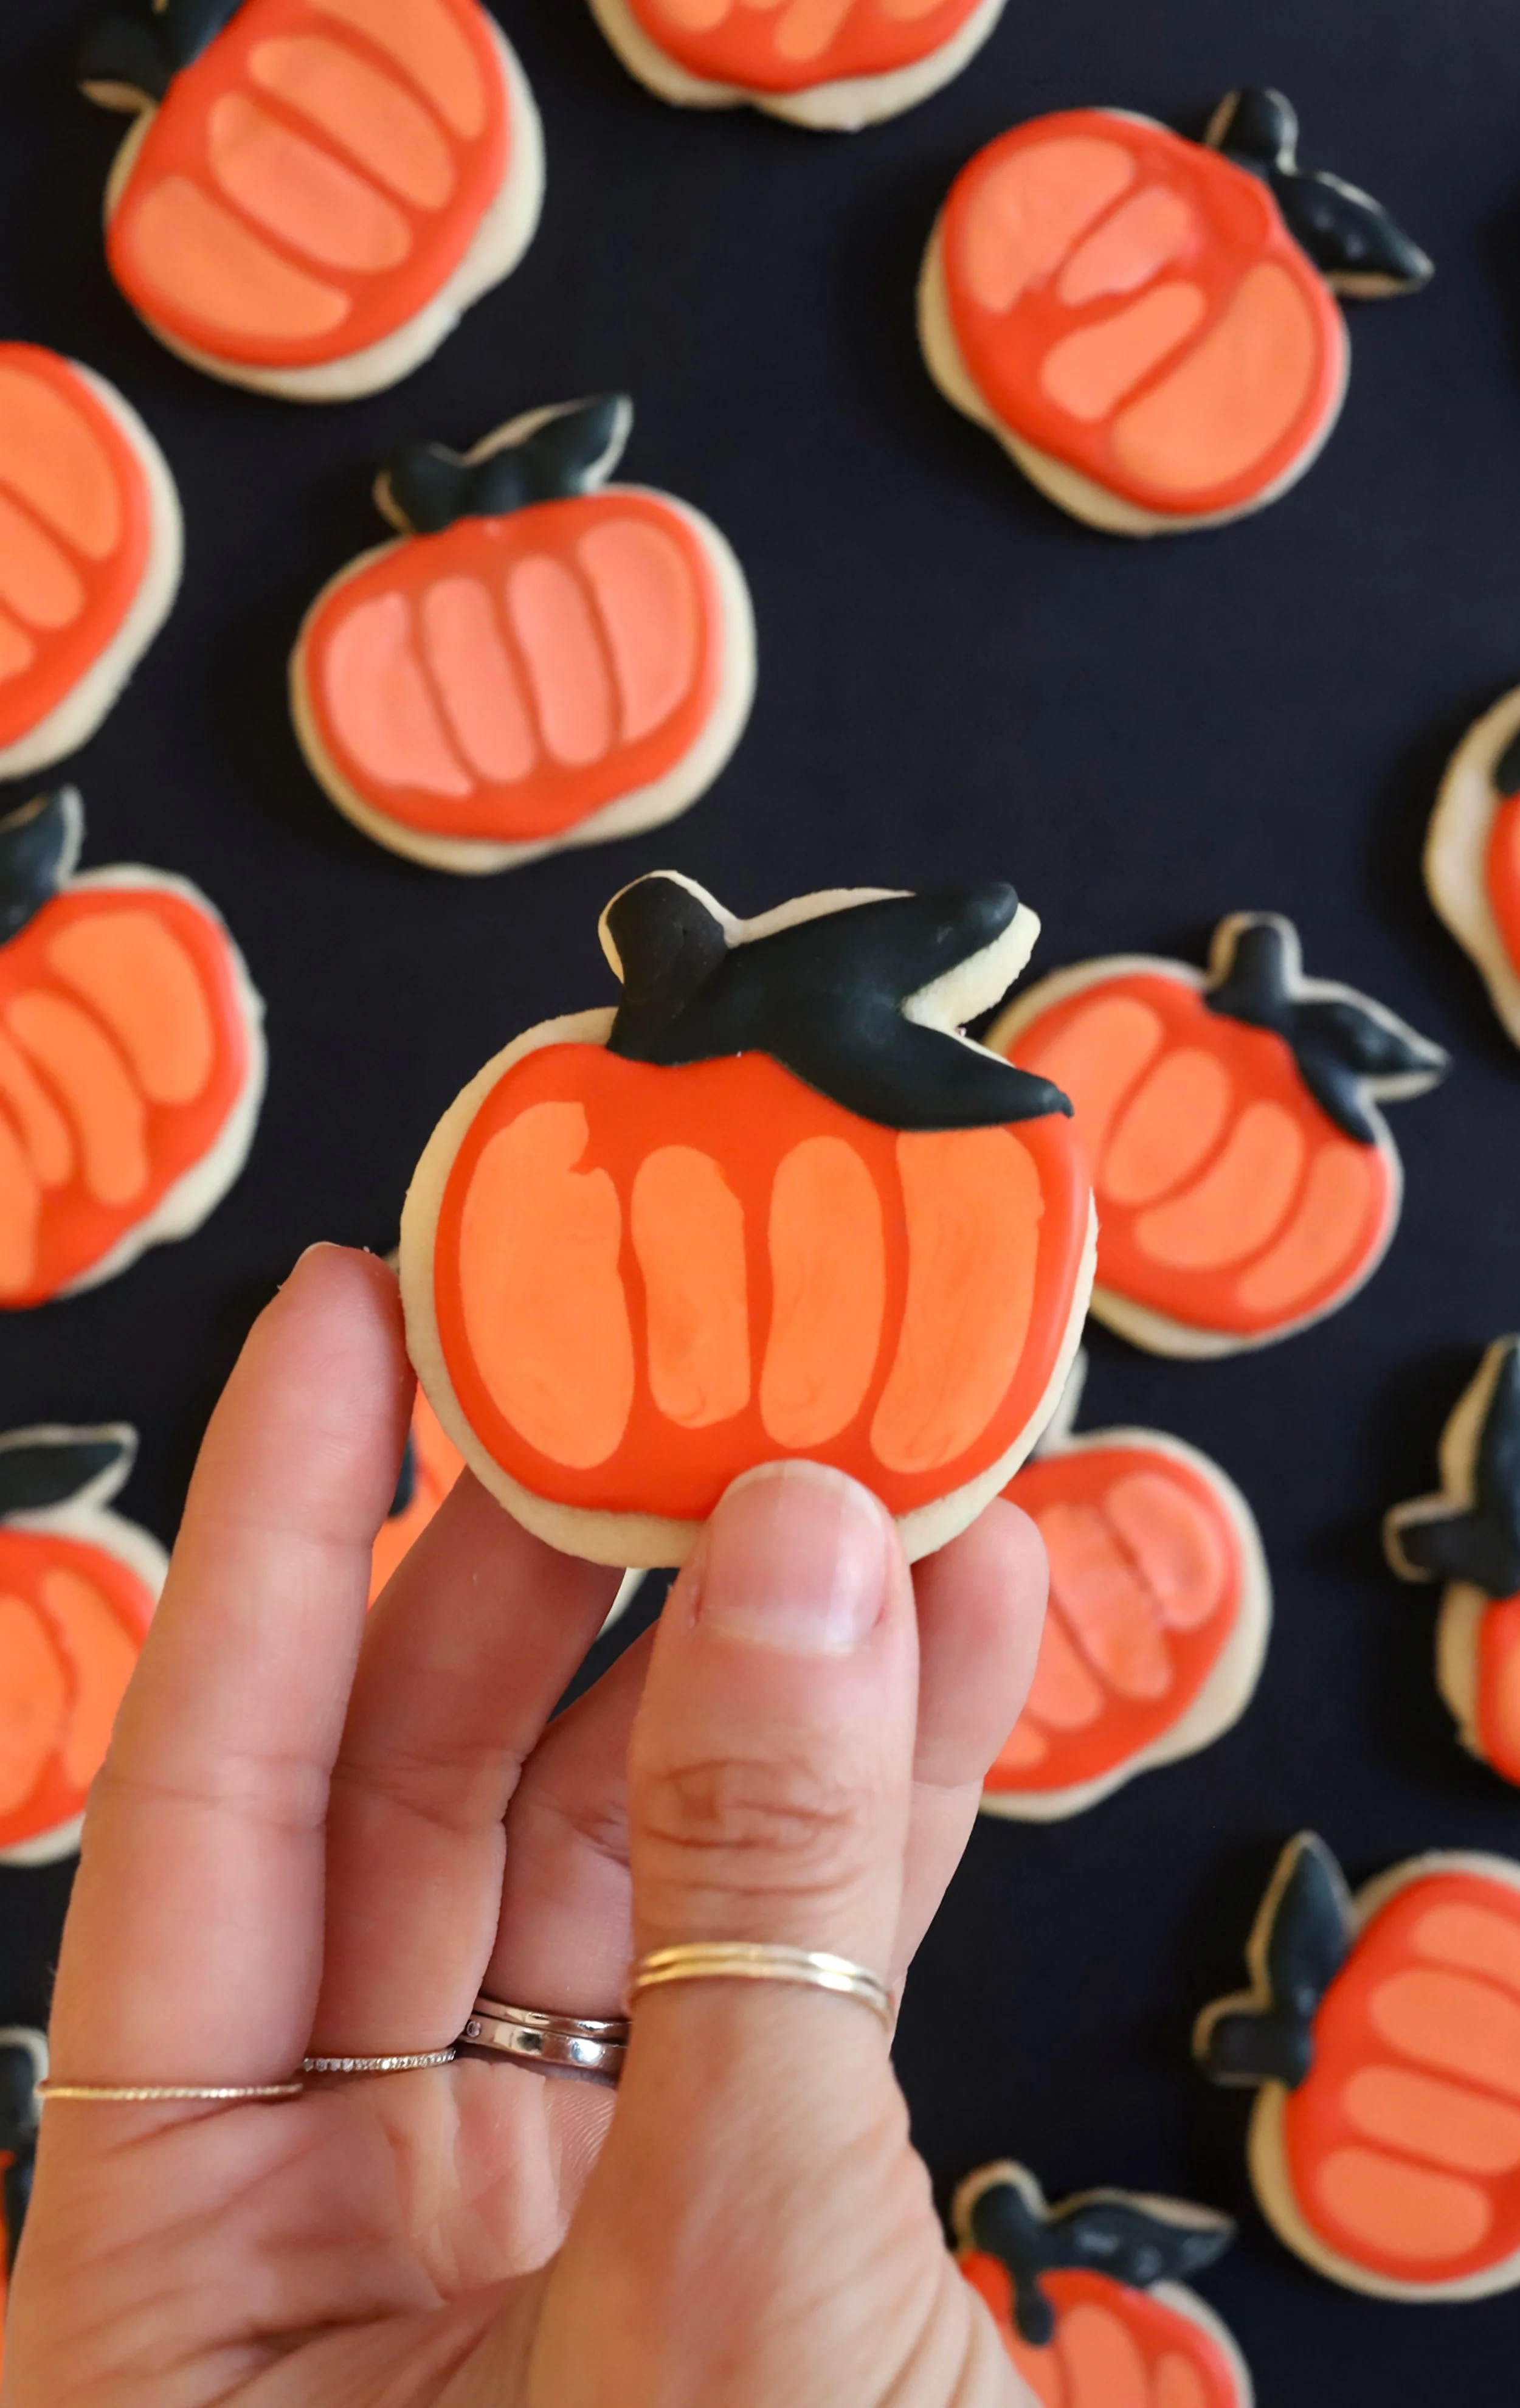
PUMPKIN COOKIES … shhh, I used my apple cookie cutter from apple season.
I like to think my apple cookies dressed up for Halloween. Ooooh, so autumnally scary! These were a quick toss together batch that I honestly thought were too cute and expressive to not share. Aesthetically, I went darker with the stems and leaves to make them feel more dramatic. If you’d like to do the same, add a little black food coloring to your green and brown mixes.
Eat these as is, use them as cupcake toppers, or go nuts and bake a whole cake and use them as decoration like I did with their apple cousins in this fall cake recipe! They are just too fun to miss.
I can’t wait to see how yours come out! Happy Halloween!

Pumpkin Shaped Sugar Cookies
Yield: 20
Prep time: 10 MinCook time: 12 MinInactive time: 1 HourTotal time: 1 H & 22 M
Quick and fun pumpkin sugar cookies for the win!
Ingredients
FOR THE COOKIES
FOR THE ROYAL ICING
KITCHEN ITEMS
Instructions
TO MAKE THE SUGAR COOKIE DOUGH.
- In a medium mixing bowl, whisk together the flour, baking powder, and salt.
- In a stand mixer fitted with the paddle attachment, beat the softened butter until smooth.
- Add the granulated sugar and beat for 2–3 minutes, until light and evenly combined.
- Add the egg and vanilla extract, mixing until fully incorporated.
- Reduce the mixer speed to low and gradually add the dry ingredients. Mix only until a soft dough forms.
- Divide the dough into two equal portions.
TO ROLL AND CUT THE COOKIES.
- Place one portion of dough between two sheets of parchment paper.
- Roll the dough evenly to approximately 3/16 inch thick. Repeat with the remaining dough.
- Transfer both sheets of rolled dough to baking sheets and refrigerate for at least 1 hour.
- Once chilled, remove one sheet of dough from the refrigerator and cut out pumpkin shapes using a cookie cutter approximately 1 1/2 inches wide.
- Transfer the cut cookies to parchment-lined baking sheets, leaving approximately 1 inch between each cookie.
- Gather the dough scraps, reroll between parchment, and refrigerate before cutting additional cookies.
- Refrigerate the cut cookies for another 10–15 minutes before baking to help preserve their shape.
TO BAKE THE COOKIES.
- Preheat the oven to 350°F.
- Bake the chilled cookies for 8–11 minutes, checking after 8 minutes.
- Remove the cookies when their edges appear set and are just beginning to turn lightly golden.
- Allow the cookies to cool on the baking sheet for 5 minutes before transferring them to a wire rack.
- Cool completely before decorating with royal icing.
TO MAKE THE ROYAL ICING.
- Add the pasteurized egg white to a clean mixing bowl. Beat on medium speed for approximately 1 minute, until frothy.
- Reduce the mixer speed to low and gradually add the confectioners' sugar.
- Increase the speed and beat until the icing becomes smooth, glossy, and thick enough to hold soft peaks.
- Add the vanilla extract and mix until incorporated.
- Divide the icing into three portions, reserving approximately 80 percent for the orange pumpkins, 10 percent for the green leaves, and 10 percent for the brown stems.
- Add the appropriate gel food coloring to each portion, mixing until evenly colored.
- Divide the orange icing into two portions. Keep one portion relatively thick for outlining the cookies.
- To prepare the flooding icing, gradually add a few drops of water to the second portion of orange icing. Stir until a line drawn through the surface disappears within approximately 15–20 seconds.
- Keep the green and brown icing thick enough to hold small decorative details.
- Transfer the prepared icings to separate piping bags fitted with small round tips, or use piping bags with very small openings cut into their ends.
TO DECORATE THE PUMPKIN SUGAR COOKIES.
- Arrange the completely cooled sugar cookies on a flat work surface.
- Using the thicker orange icing, pipe a thin outline around the outer edge of each apple.
- Fill the center of each apple with the thinner orange flooding icing (I lightened this one up to give my pumpkins a more graphic style).
- Use a toothpick to guide the icing into any small spaces and gently pop visible air bubbles.
- Allow the orange icing to firm up before adding the decorative details.
- Using the brown icing, pipe a small stem at the top of each pumpkin.
- Add a small green leaf beside each stem using the green icing.
- Leave the decorated cookies uncovered on a flat tray, protected from dust, at room temperature for approximately 24 hours, or until the royal icing has completely hardened.
- Once fully dry, transfer the cookies to an airtight container, placing parchment between layers if stacking.


